Here is a tutorial on how to make your wig smaller with a custom fit. You will need scissors, needle & thread, safety pins & something to mark with ( I used a sharpie for this demonstration). In short you will cut your wig into two pieces, remove the extra wefts and sew back together. It might sound scary but I promise it’s quite easy. The starting point will be between the bottom of the ear-tab and the loop( that your adjuster is threaded through). I like to be able to remove three wefts so I usually start cutting about three wefts down from the ear tab. TIP: Keep your nape adjuster and loop ( circled in blue in image 1)

The blue dashes in image 2) illustrate where you will cut your wig into two pieces. TIP: When cutting always keep your finger as a buffer so you don’t cut any wig hair by accident.

Keep some lace ( as illustrated in image 3) so it will be easier when safety pinning and sewing your wig back together.

This is where the fun begins and where you can get a really custom fit to your wig. I start at the perimeter and in this case safety pin the wig up three wefts as shown in image 4). Try your wig back on and adjust the safety pins as needed to get a custom fit. TIP: Once you are happy with the fit wear your wig safety pinned together around the house just to be sure.

Once you have a good fit mark the top of the lace where you have the wig safety pinned together as shown in image 5). These marks will be used as a guide when sewing your wig back together and for removing wefts. TIP: I used a permanent black marker

Image 6) illustrates how your wig will look once you have cut her into two pieces ( the size of the wig pieces and weft amounts might be different because of the wig you are altering) Above the blue marks you will see the marks made by the permanent marker as illustrated in image 5). The blue marks illustrate where to cut your wig to remove the extra wefts. The yellow marks show you where to cut to release the wefts. Removing these wefts will give you a custom fit.

Image 7) illustrates what your wig will look like once you remove the extra wefts. As illustrated leave extra lace to make it easier to safety pin and sew your wig back together.
TIP: Keep the wefts you removed for future projects.

So to recap up to this point. You have cut your wig into two pieces ✔️ safety pinned back together and adjusted the safety pins to get a custom fit ✔️and cut and removed the extra wefts. ✔️ As illustrated in image 8) safety pin your wig back together one more time. Line up the lace from bottom section to the mark on the top section and pin in place. TIP: I pin the middle sections together first then the perimeter and lastly the side sections together.

Image 9) is a close up of your wig safety pinned back together and ready for the final step ( sewing back together).

Image 10) illustrates your wig ready to be sewn back together. The velcro adjuster covers where I sewed her back together. TIP: I remove the safety pins one at a time as I sew each section together. TIP: Fold the velcro in half to thread back through the loop

Image 11) illustrates the back of your finished wig alteration. No special sewing skills are required. Congratulations you now have a wig that will fit you like a glove. 👏🏻 TIP: Use thread that matches your wig cap TIP: Use sturdy cotton thread ( I used quilters thread) TIP: Make sure you knot and take a few anchor stitches to secure your handiwork.

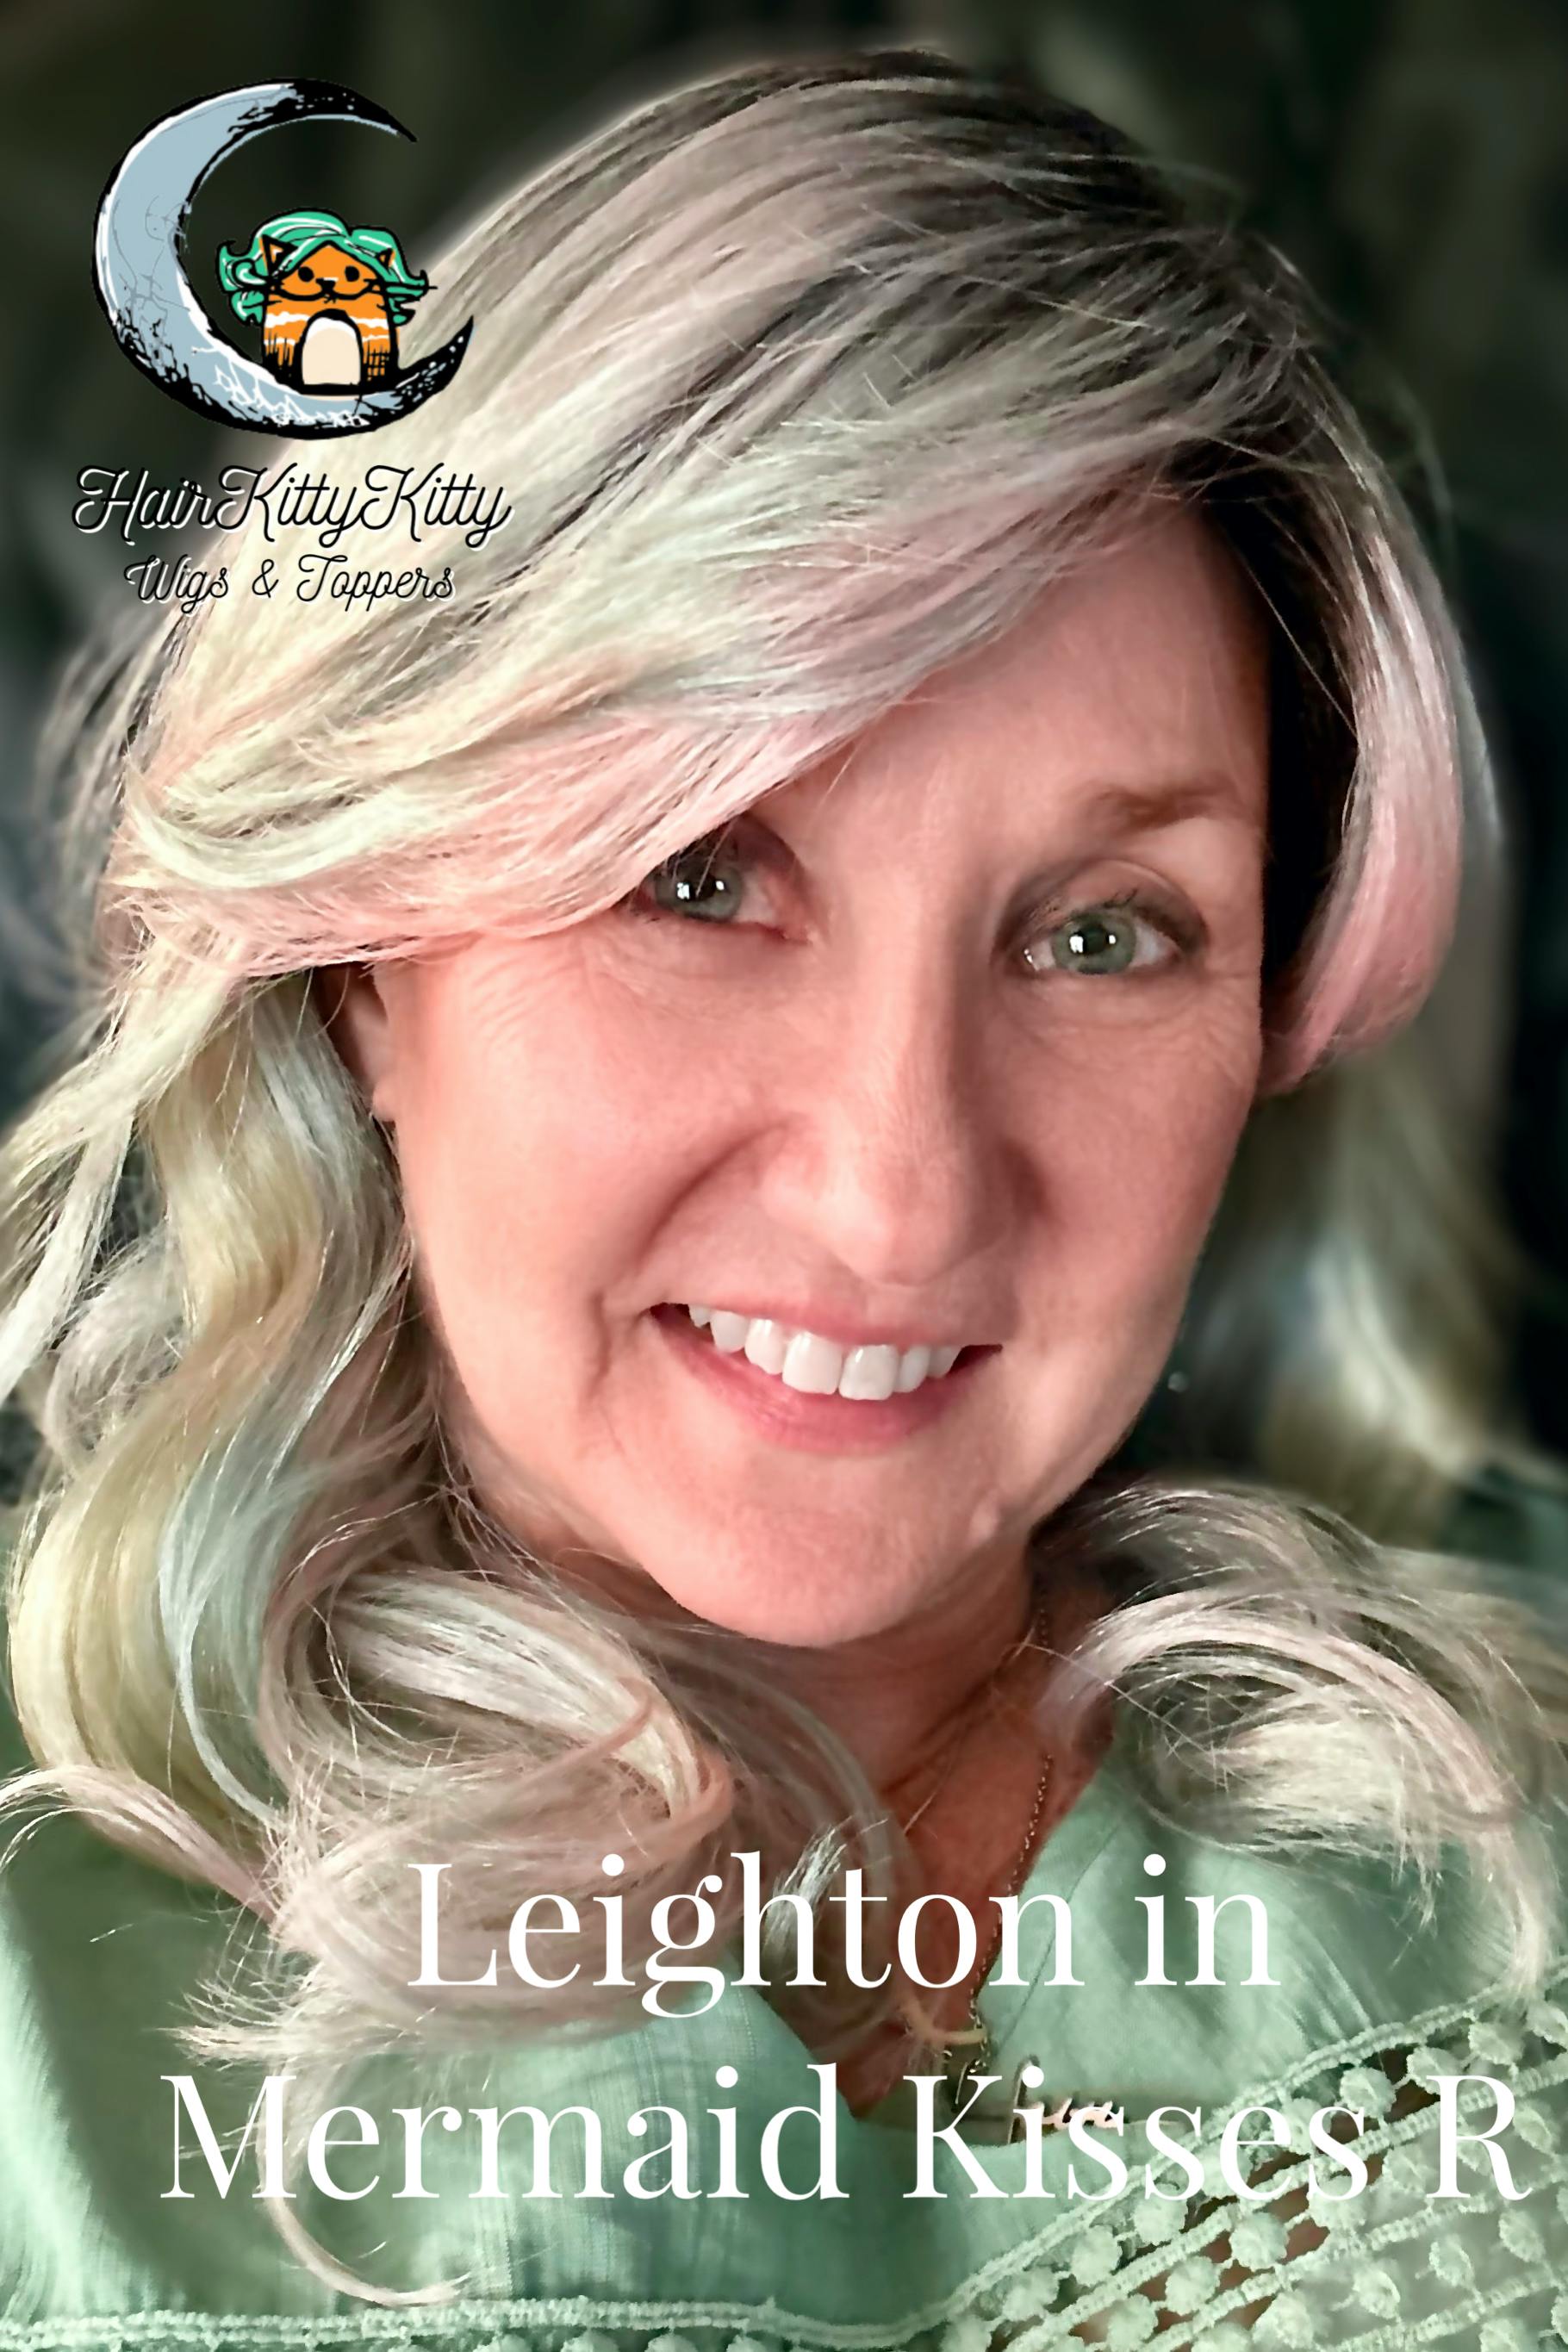
Mermaid Kisses is full of pretty pastel colors of pink, yellow & green and Leighton’s style really shows them off! For me, this one looks best when wearing pastel colors - nothing too neutral or too bold.
I like the light bangs/fringe and long past your shoulders length. The density is perfect for this length, as well. There is some permatease on top, but nothing that creates too much pouf. This one fits my smaller head pretty well. I only need to cinch the adjusters at the nape. Leighton in Mermaid Kisses is a delight to wear!
I'm often uncomfortable in wigs and a topper is a great alternative. The clips in Heather's toppers are many and small, eliminating the pulling you get in most toppers.
This is a gorgeous style, perfect for someone like me who has hair, but not much. I can incorporate what I've got and feel pretty AND comfortable. I'm working on ideas for styling her, but she looks pretty amazing as is.
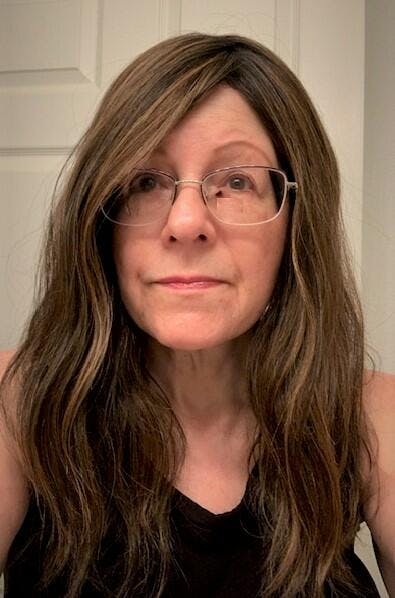
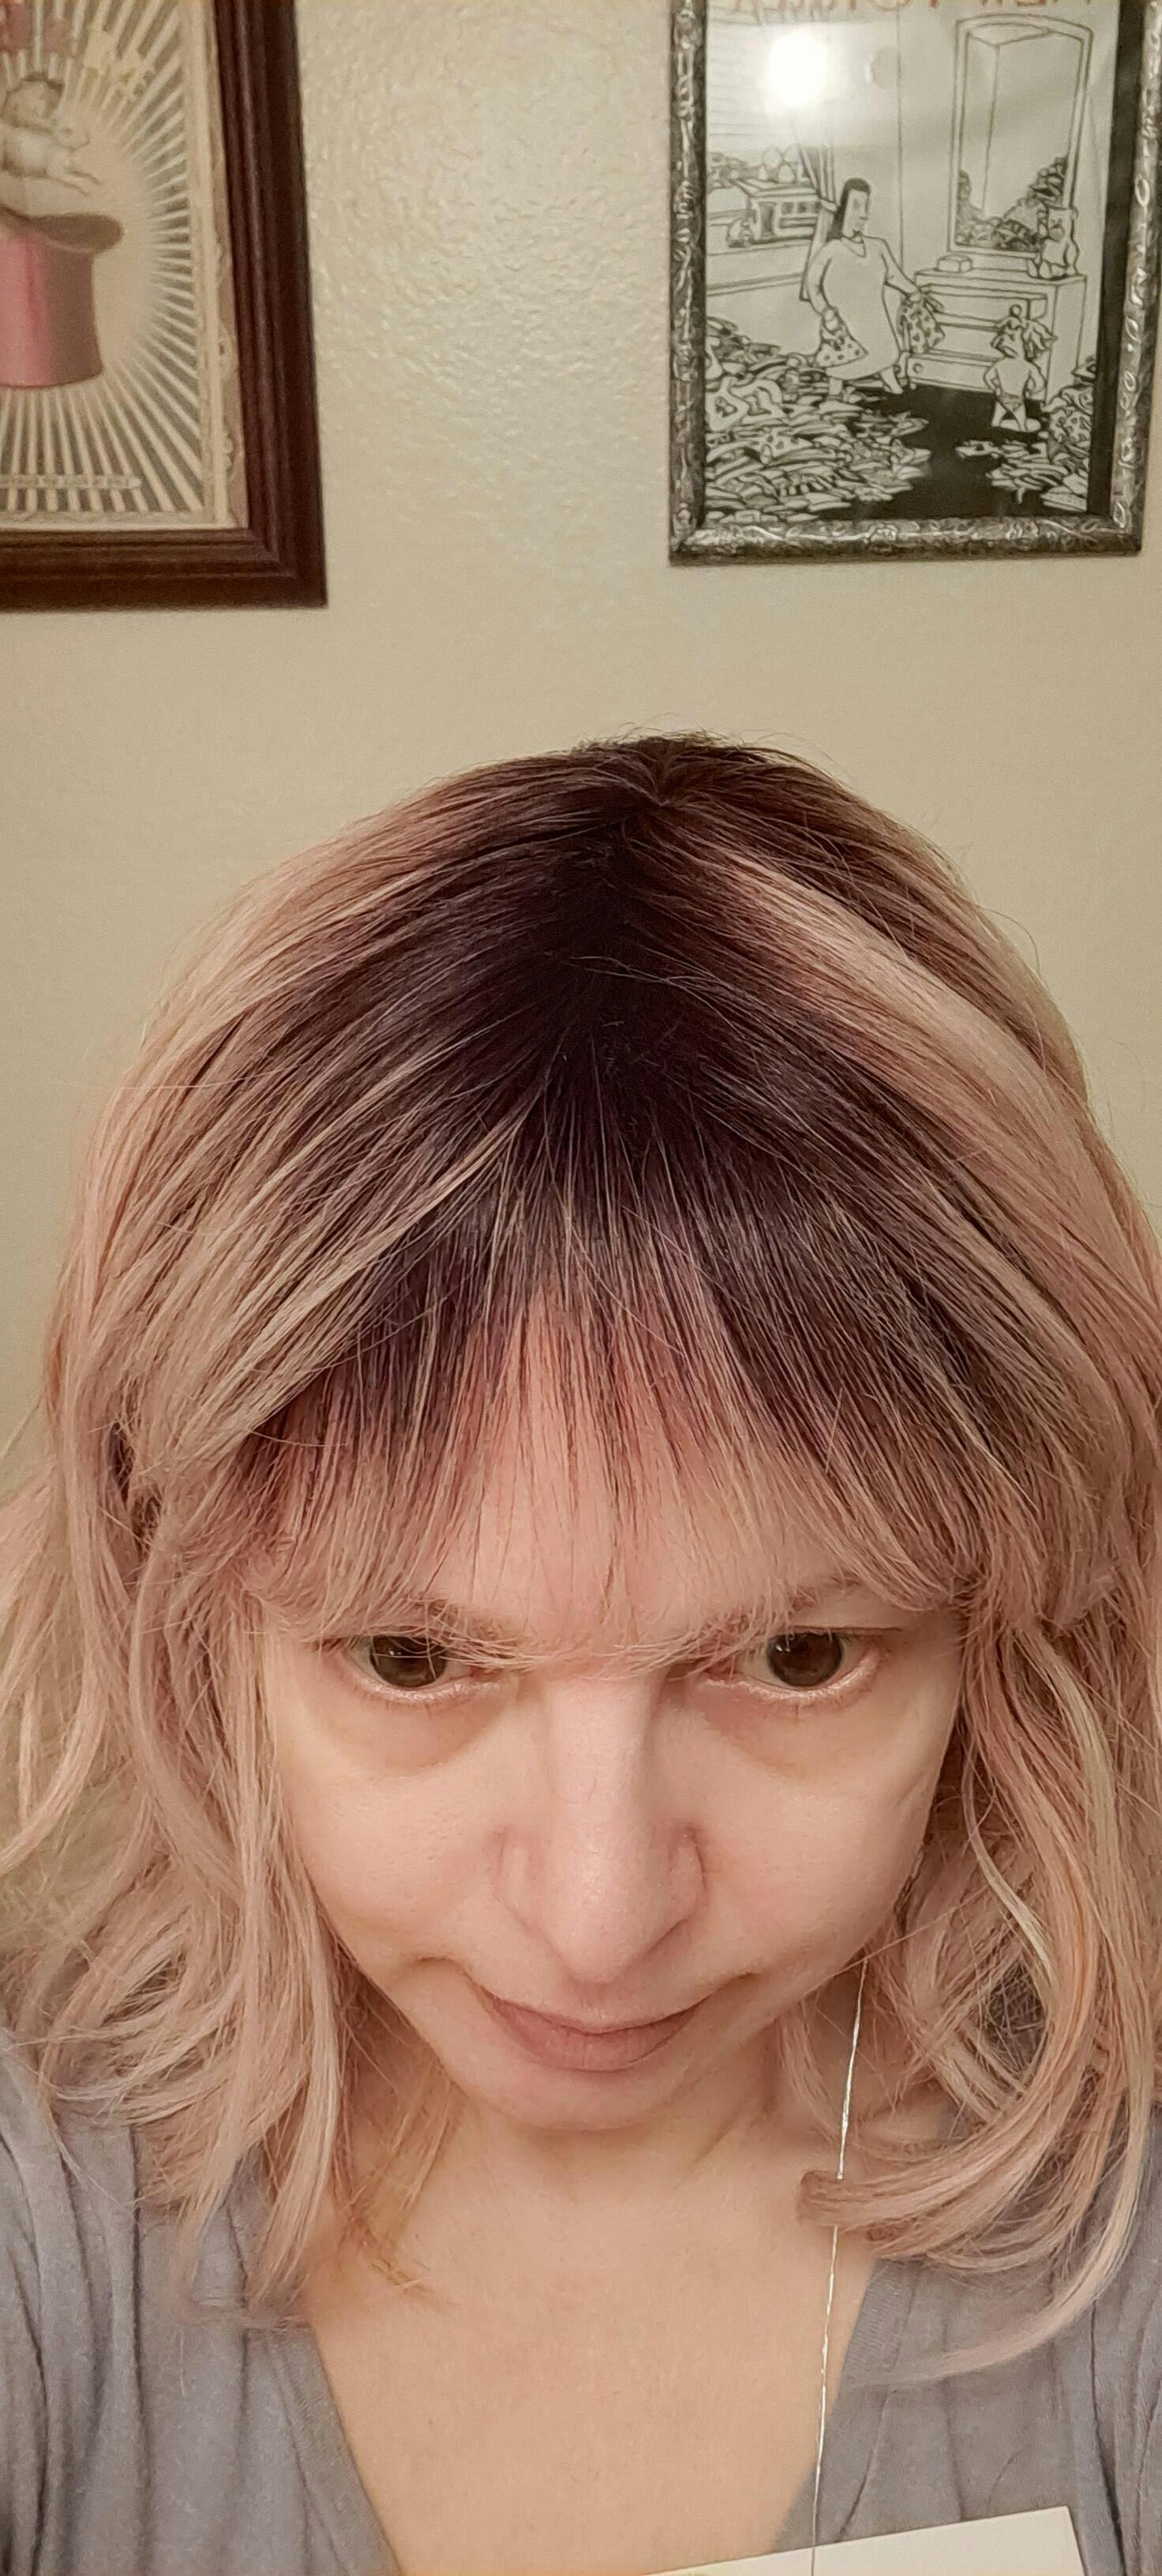
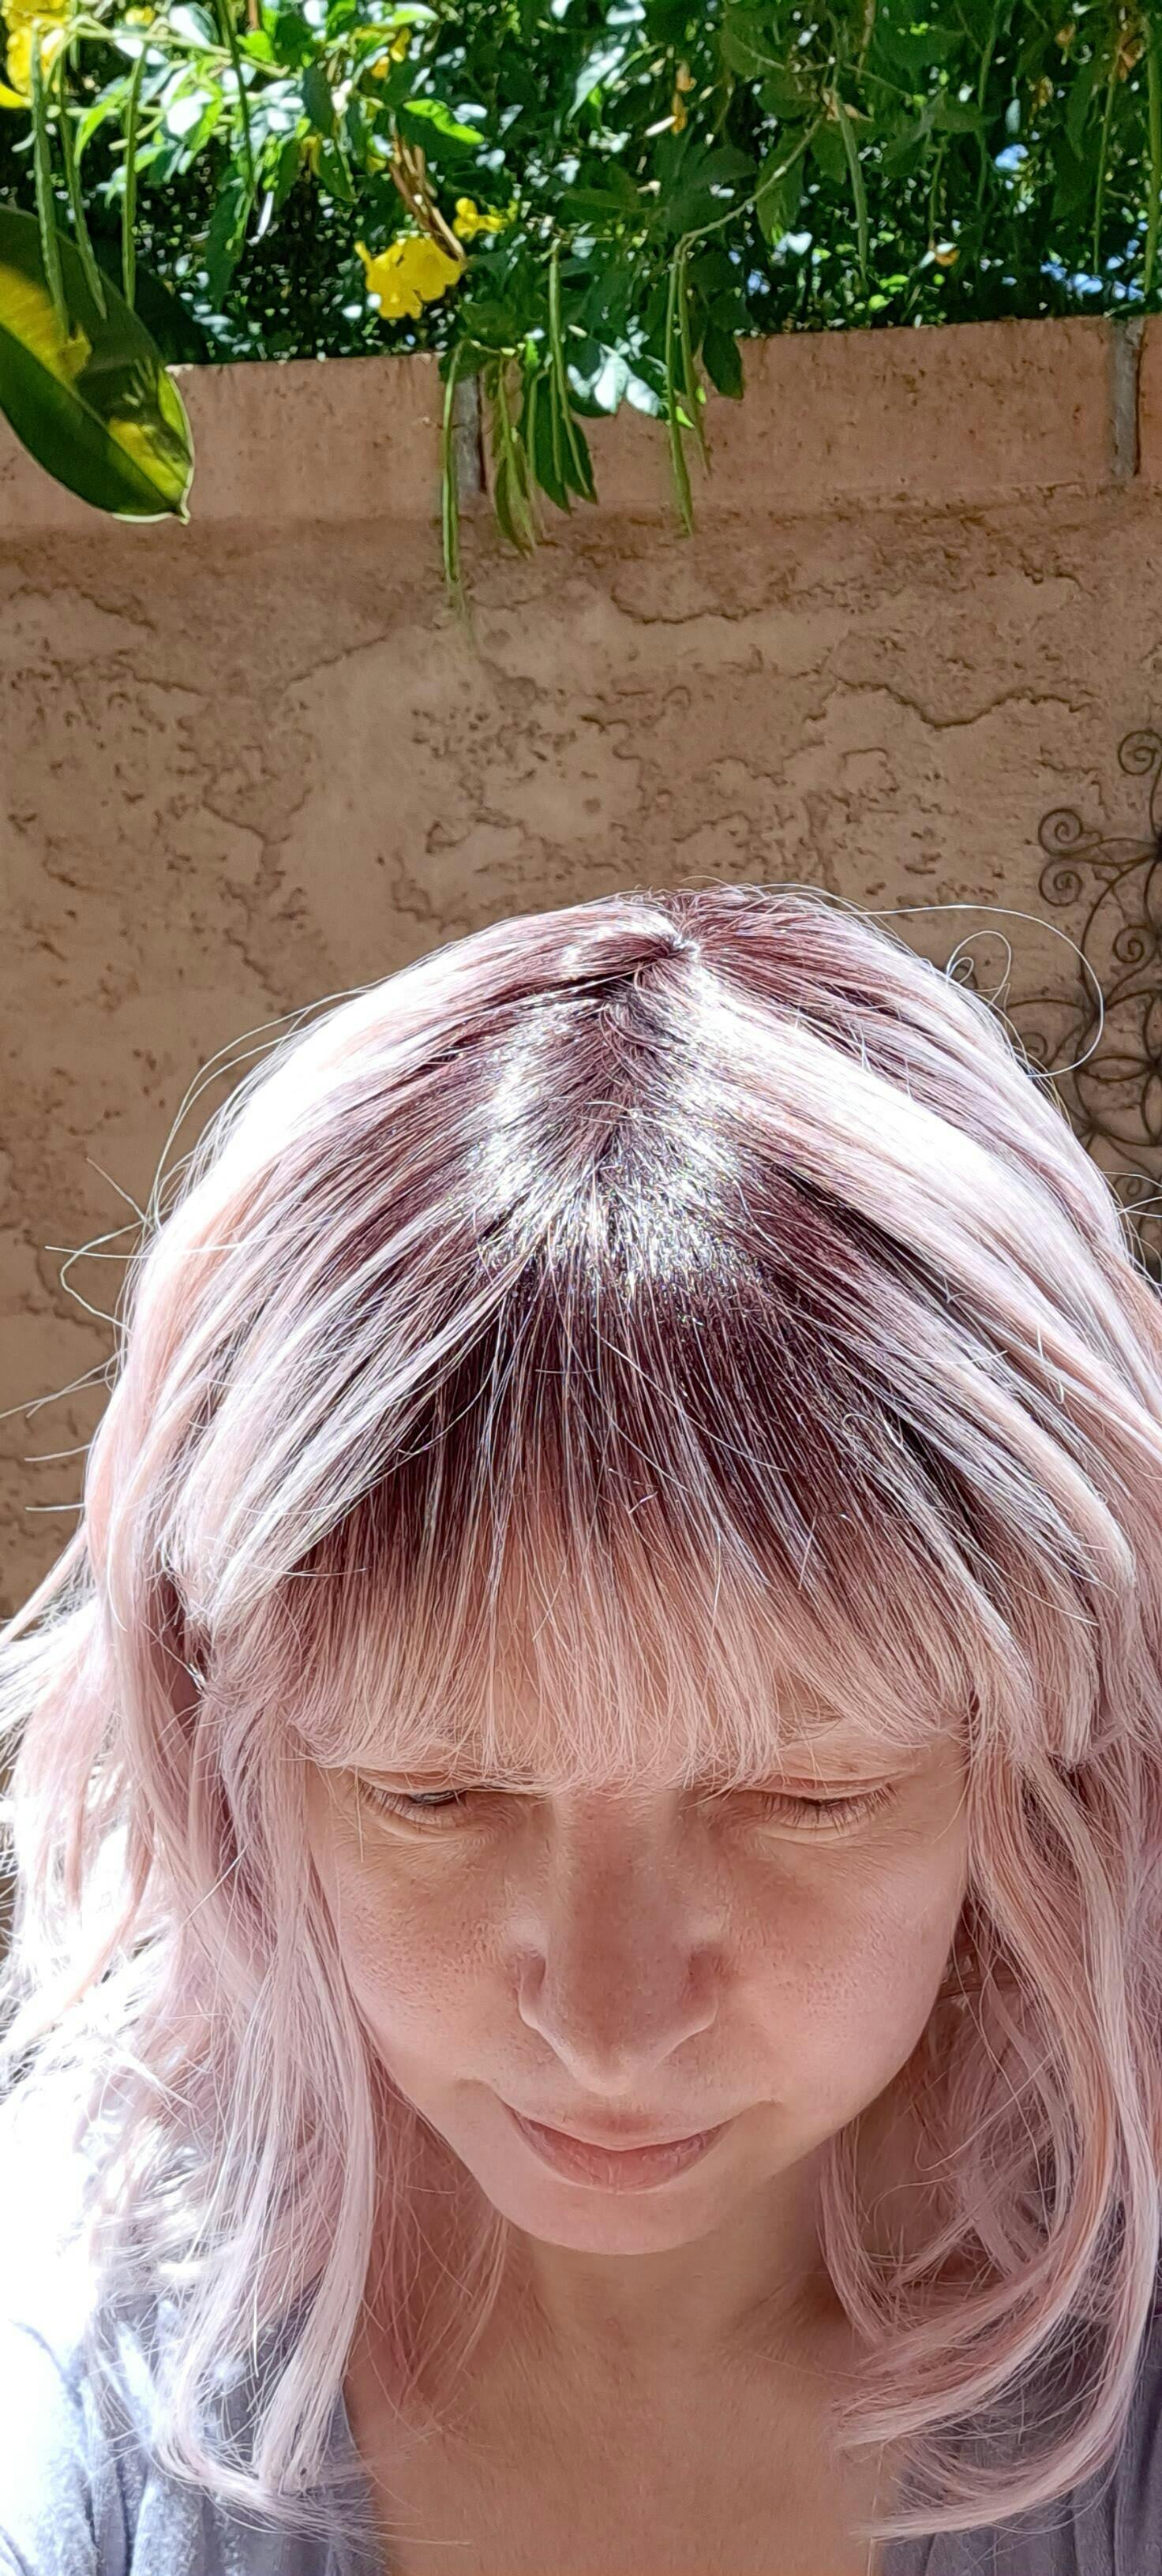
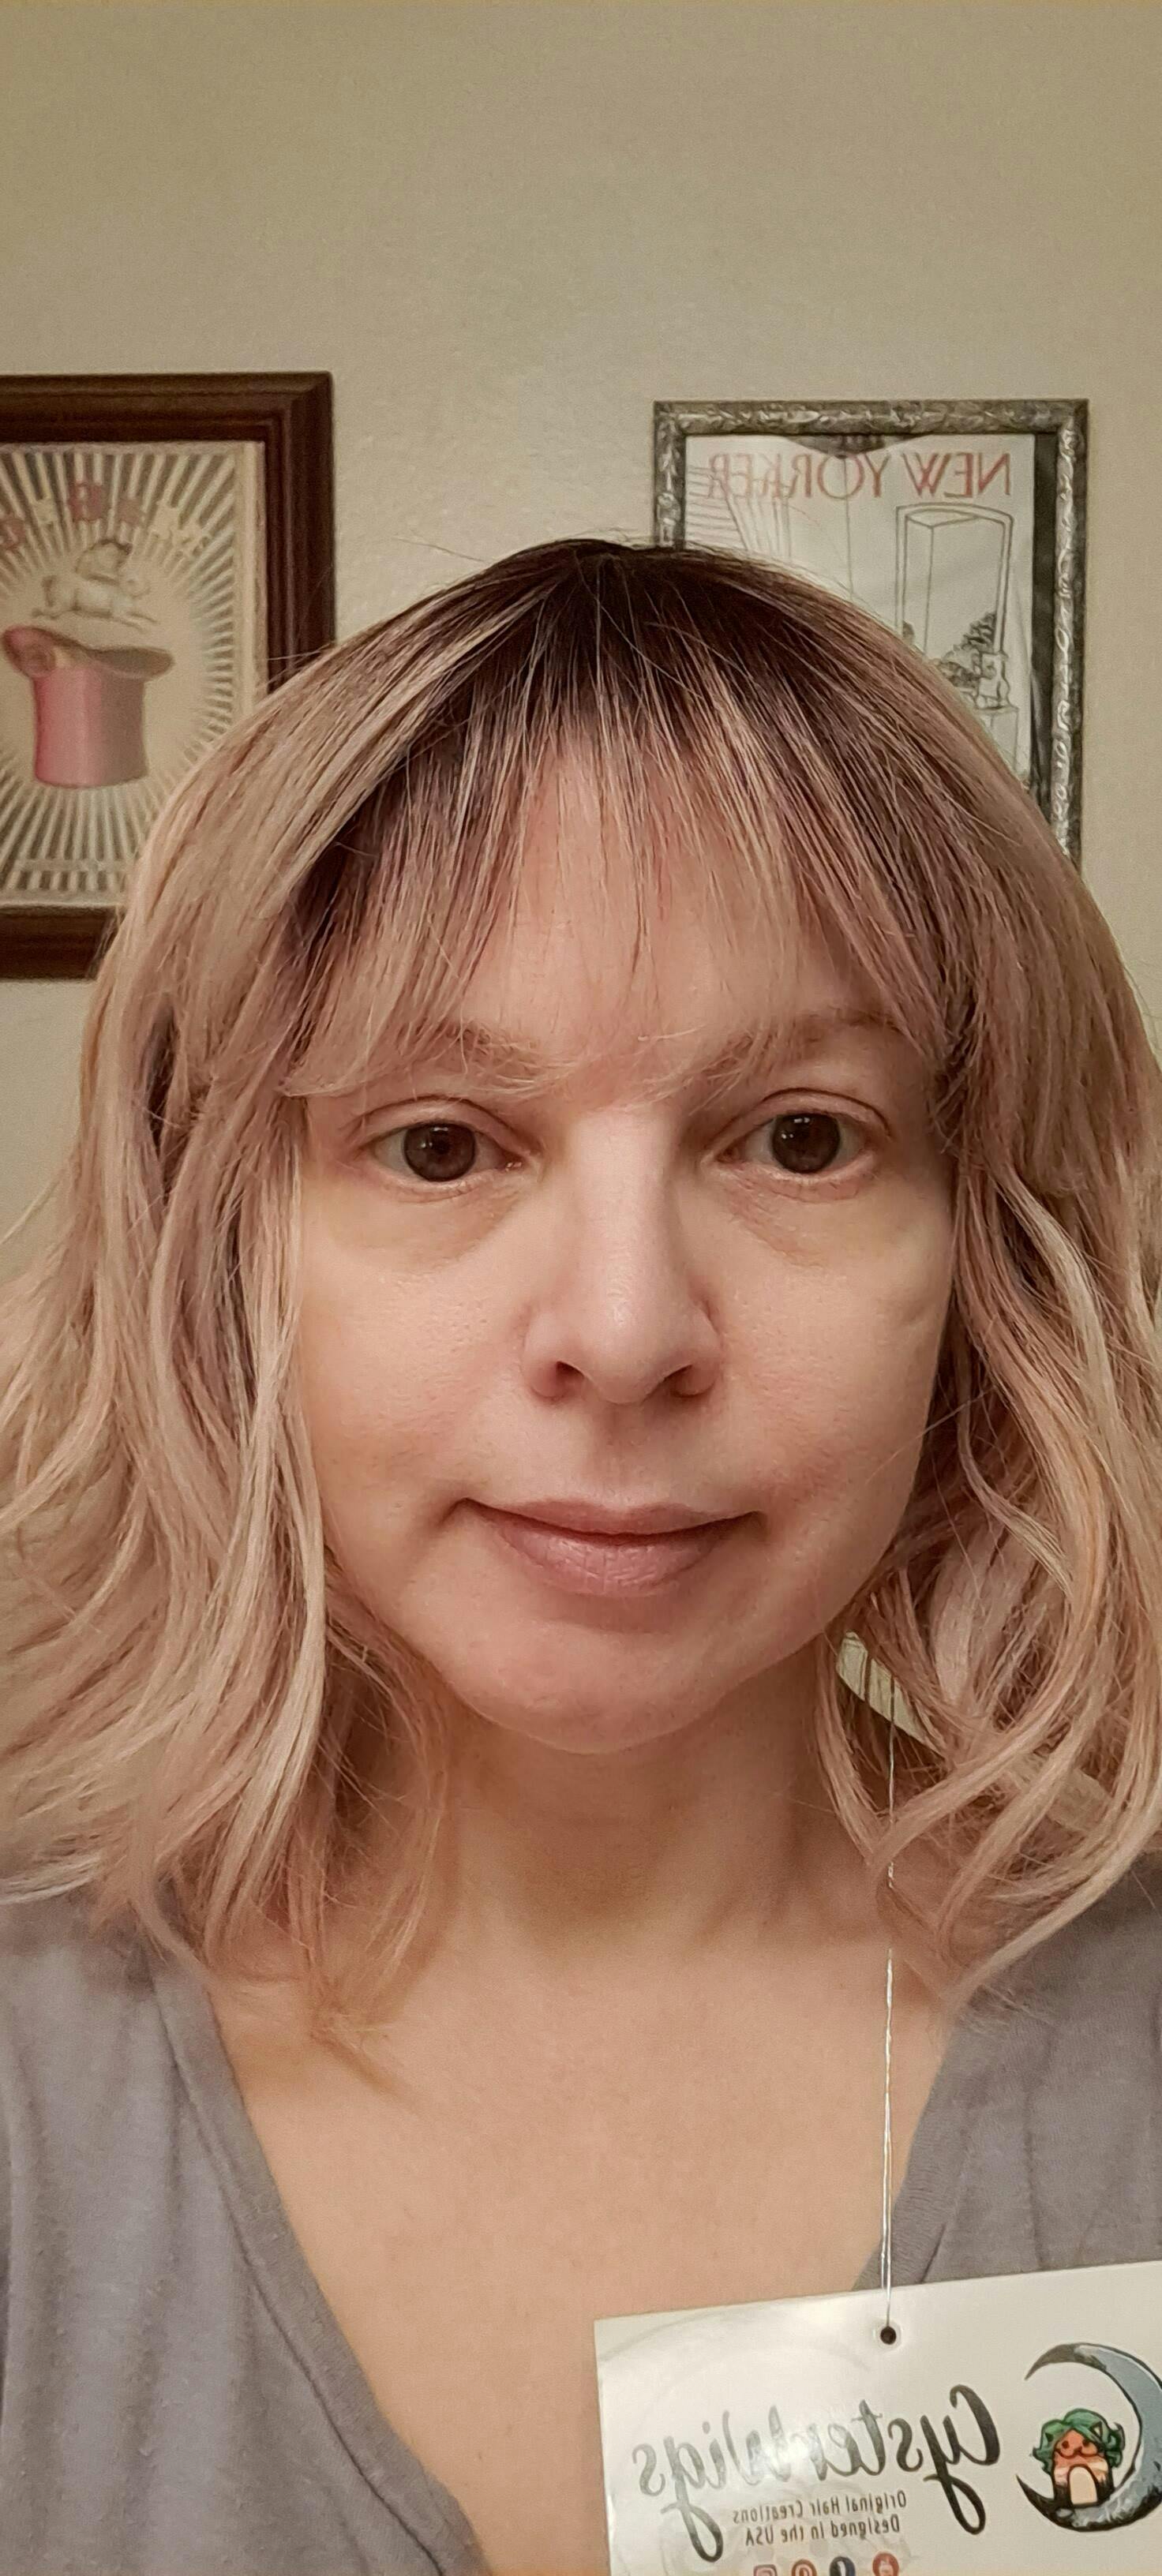
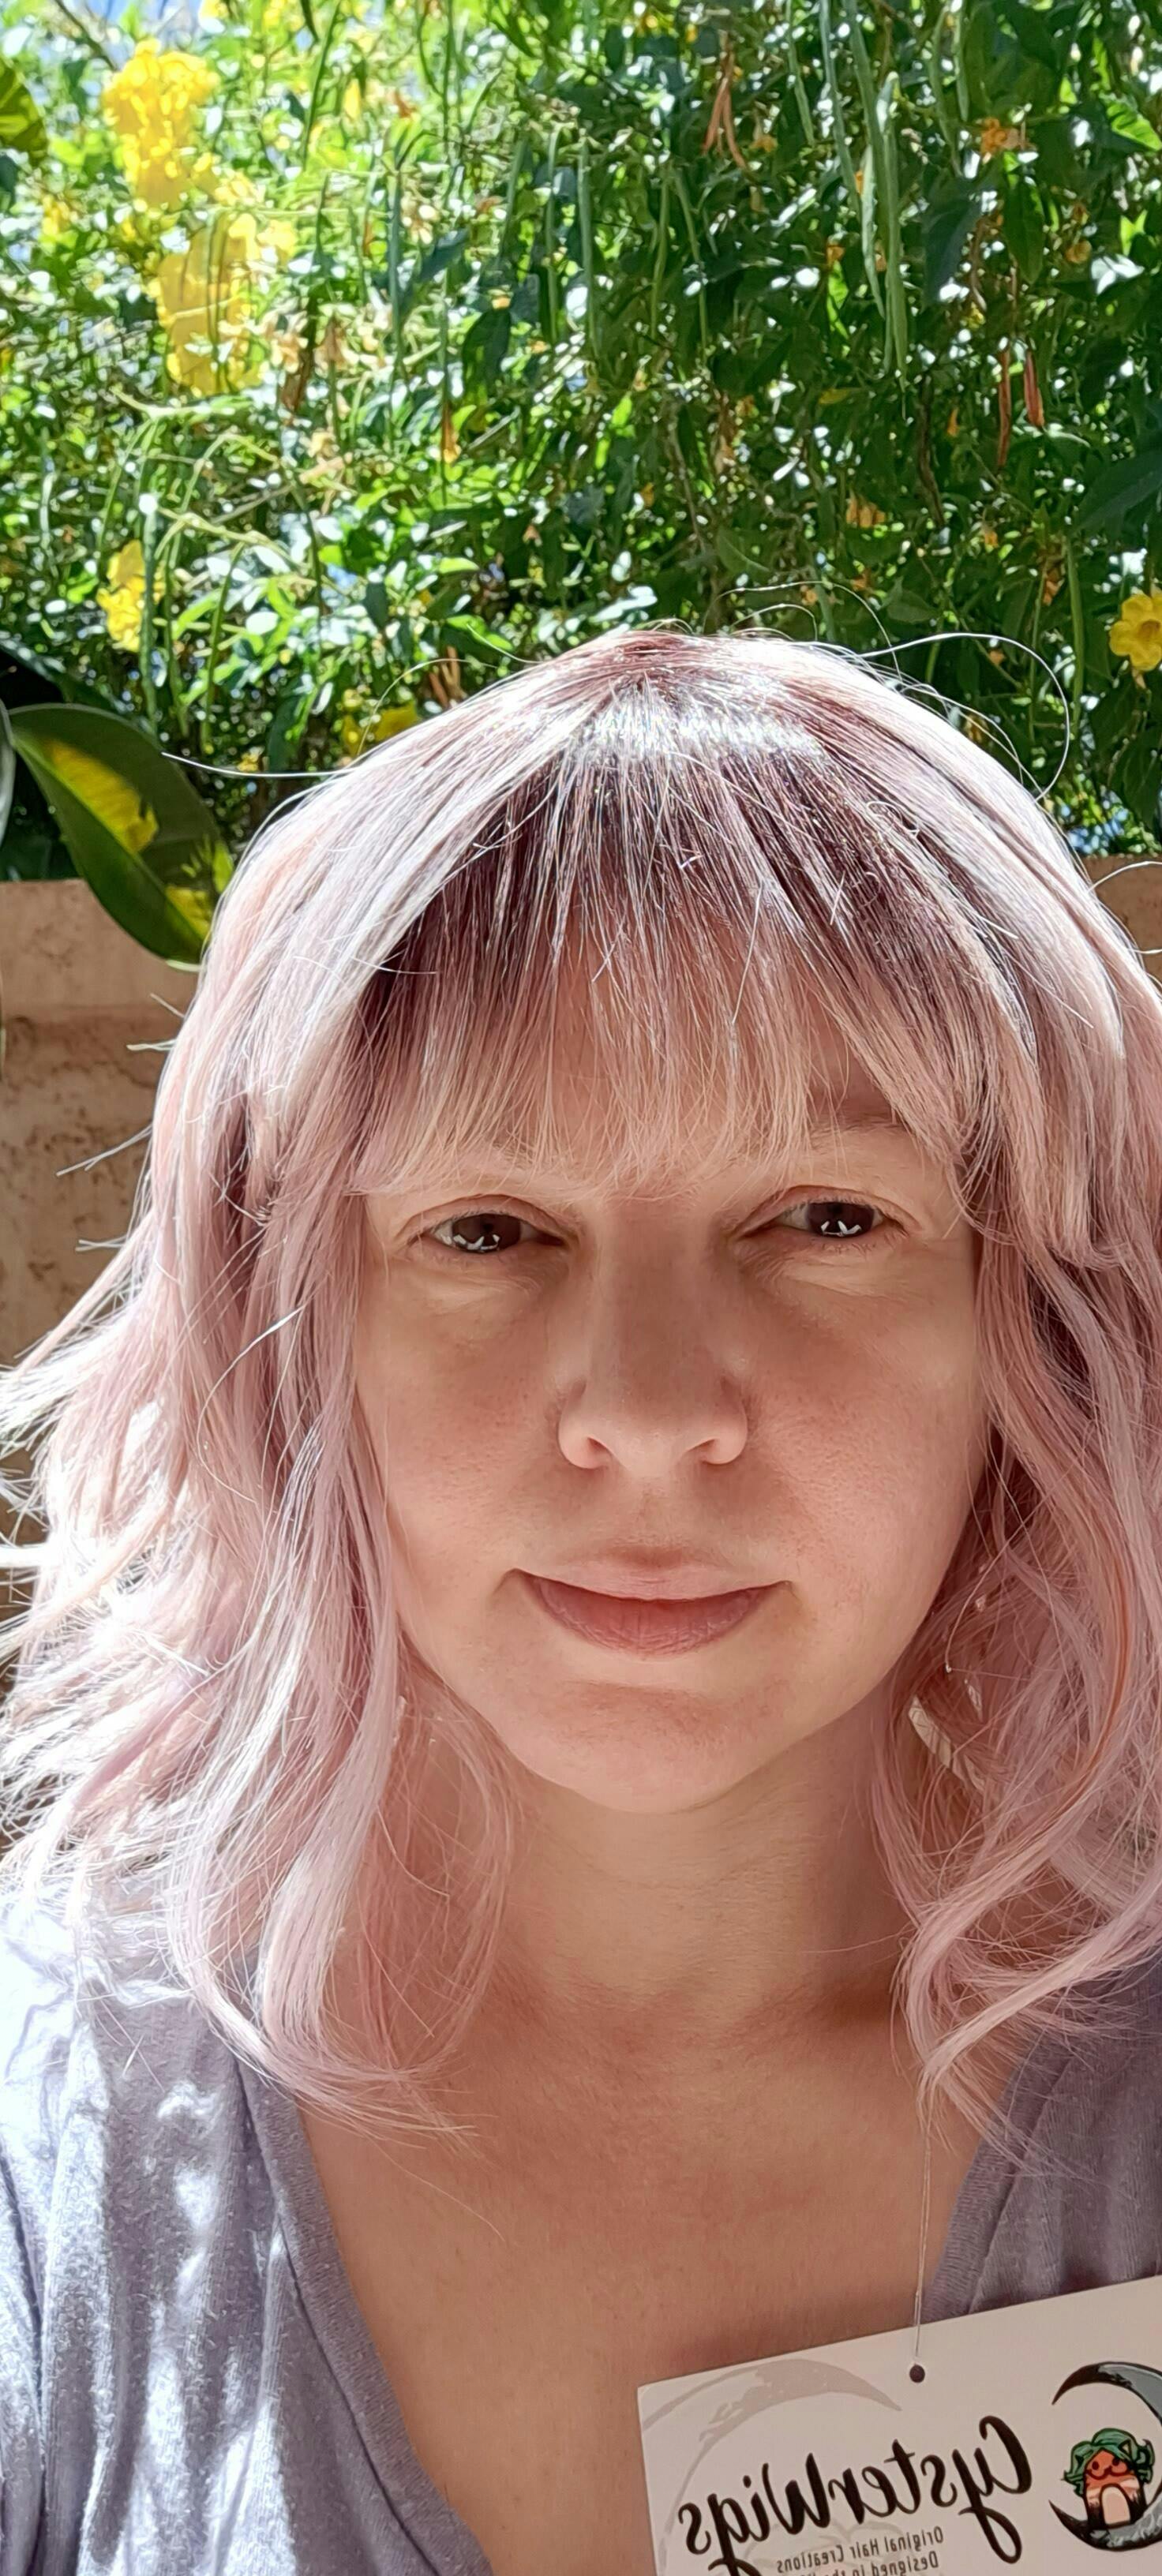
Ambrose is a very wearable style with fine, soft hair fibers. The color Rose Blush is absolutely beautiful, and the rooting adds dimension and realism.
I've attached pictures in indoor and outdoor light with no makeup to show how natural the fibers are and the color.
I love the style and the color of this wig. I wish it was not heat friendly. I just don't get any longevity with HF fibers. I could almost give it a perfect 5 stars, however, the length on each side differs by at least 2 inches. I know it is shorter in the back than the front purposely, but I don't believe it is suposed to be asymmetrical on the sides. I do really enjoy though that it was made to be shorter in the back because heat friendly fibers tend to get so ratty in back due to friction on neck and back.
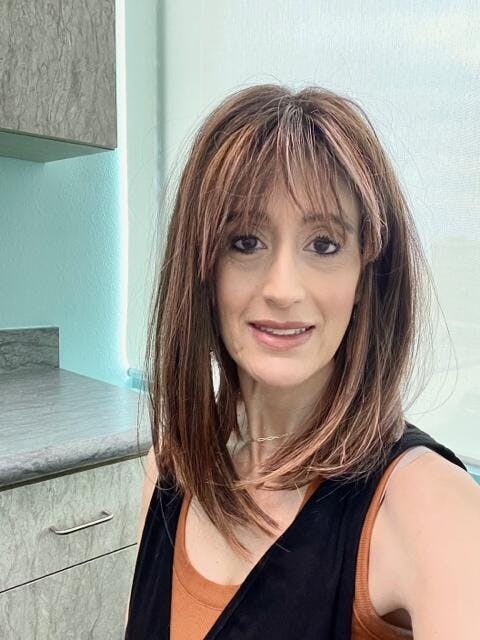
You definitely can’t go wrong with Leighton in Cocoa Swirl Rooted. If you like a nicely rooted wig, she’s got it! If you like Permatease, she’s got it! If you like a nice longer length, she’s got it! If you like a luscious medium brown color, she’s got it! This wig checks all the boxes. And, it’s available at such an affordable price!