Hello, darlings! We're ready to take you through a step-by-step guide on how to effortlessly put on and remove monofilament wigs. Whether you're new to wig-wearing or seeking to refine your technique, this comprehensive tutorial will ensure a seamless experience. So, let's dive into the world of glamorous transformations!
Step 1: Prepare Your Hair
To ensure a smooth and natural fit, start by preparing your hair. Gently comb or braid your hair close to your scalp, securing any loose strands with bobby pins or a wig cap. This step creates a flat base and helps prevent the wig from slipping.
Step 2: Adjust the Wig Cap
Place the monofilament wig cap over your head, positioning it at the hairline. Adjust the cap so that the front edge aligns with your natural hairline, and the cap's ear tabs are positioned correctly above your ears. Ensure the cap's elastic band rests securely at the nape of your neck.
Step 3: Secure the Wig Cap
Secure the wig cap by adjusting the Velcro straps or hooks located at the back of the cap. Gradually tighten the straps until the cap feels snug but comfortable, ensuring it stays in place throughout the day. Avoid pulling the straps too tightly, as this may cause discomfort or damage the wig.
Step 4: Prepare the Wig
Hold the monofilament wig with both hands, ensuring the front edge aligns with your natural hairline. Gently tilt your head forward and gradually slide the wig's front edge over your head, starting at the forehead. Use your fingertips to adjust the wig, ensuring a proper fit along the hairline.
Step 5: Secure the Wig
Once the wig is in position, adjust the wig's straps or clips located at the sides and back of the cap. These will provide additional security and ensure a snug fit. Use a mirror to check that the wig sits comfortably and looks natural from all angles.
Step 1: Prepare for Removal
Before removing the wig, use a wide-tooth comb or wig brush to gently detangle any knots or tangles. This will make the removal process easier and prevent damage to the wig fibers.
Step 2: Loosen the Wig
Starting at the back of the wig, gently lift the wig's edge or carefully unfasten the straps or clips. Gradually work your way around the wig, loosening the grip without pulling or tugging. Take your time to ensure a gentle removal process.
Step 3: Remove the Wig
With the wig loosened, use your fingertips to gently lift the wig from your head, starting at the front hairline. Slowly peel the wig back, allowing the wig cap and your natural hair to be exposed. Take care not to rush this step, as it can cause tangling or discomfort.
Step 4: Store the Wig Properly
After removing the wig, give it a gentle shake to remove any loose hairs or debris. Place the wig on a wig stand or mannequin head to maintain its shape and prevent tangling. Store it in a cool, dry place away from direct sunlight and humidity.
Step 5: Care for Your Natural Hair
Once the wig is off, take a moment to care for your natural hair. Gently comb or brush your hair, ensuring it's free from any tangles. If desired, apply a leave-in conditioner or nourishing oil to keep your hair healthy and moisturized.
With these step-by-step instructions, you'll become a pro at putting on and removing monofilament wigs. Remember to be patient, gentle, and confident throughout the process, and you'll achieve stunning results every time.
So, my darlings, embrace the world of wig transformations and express your unique style effortlessly. Now, go forth and conquer the art of wig-wearing with style!
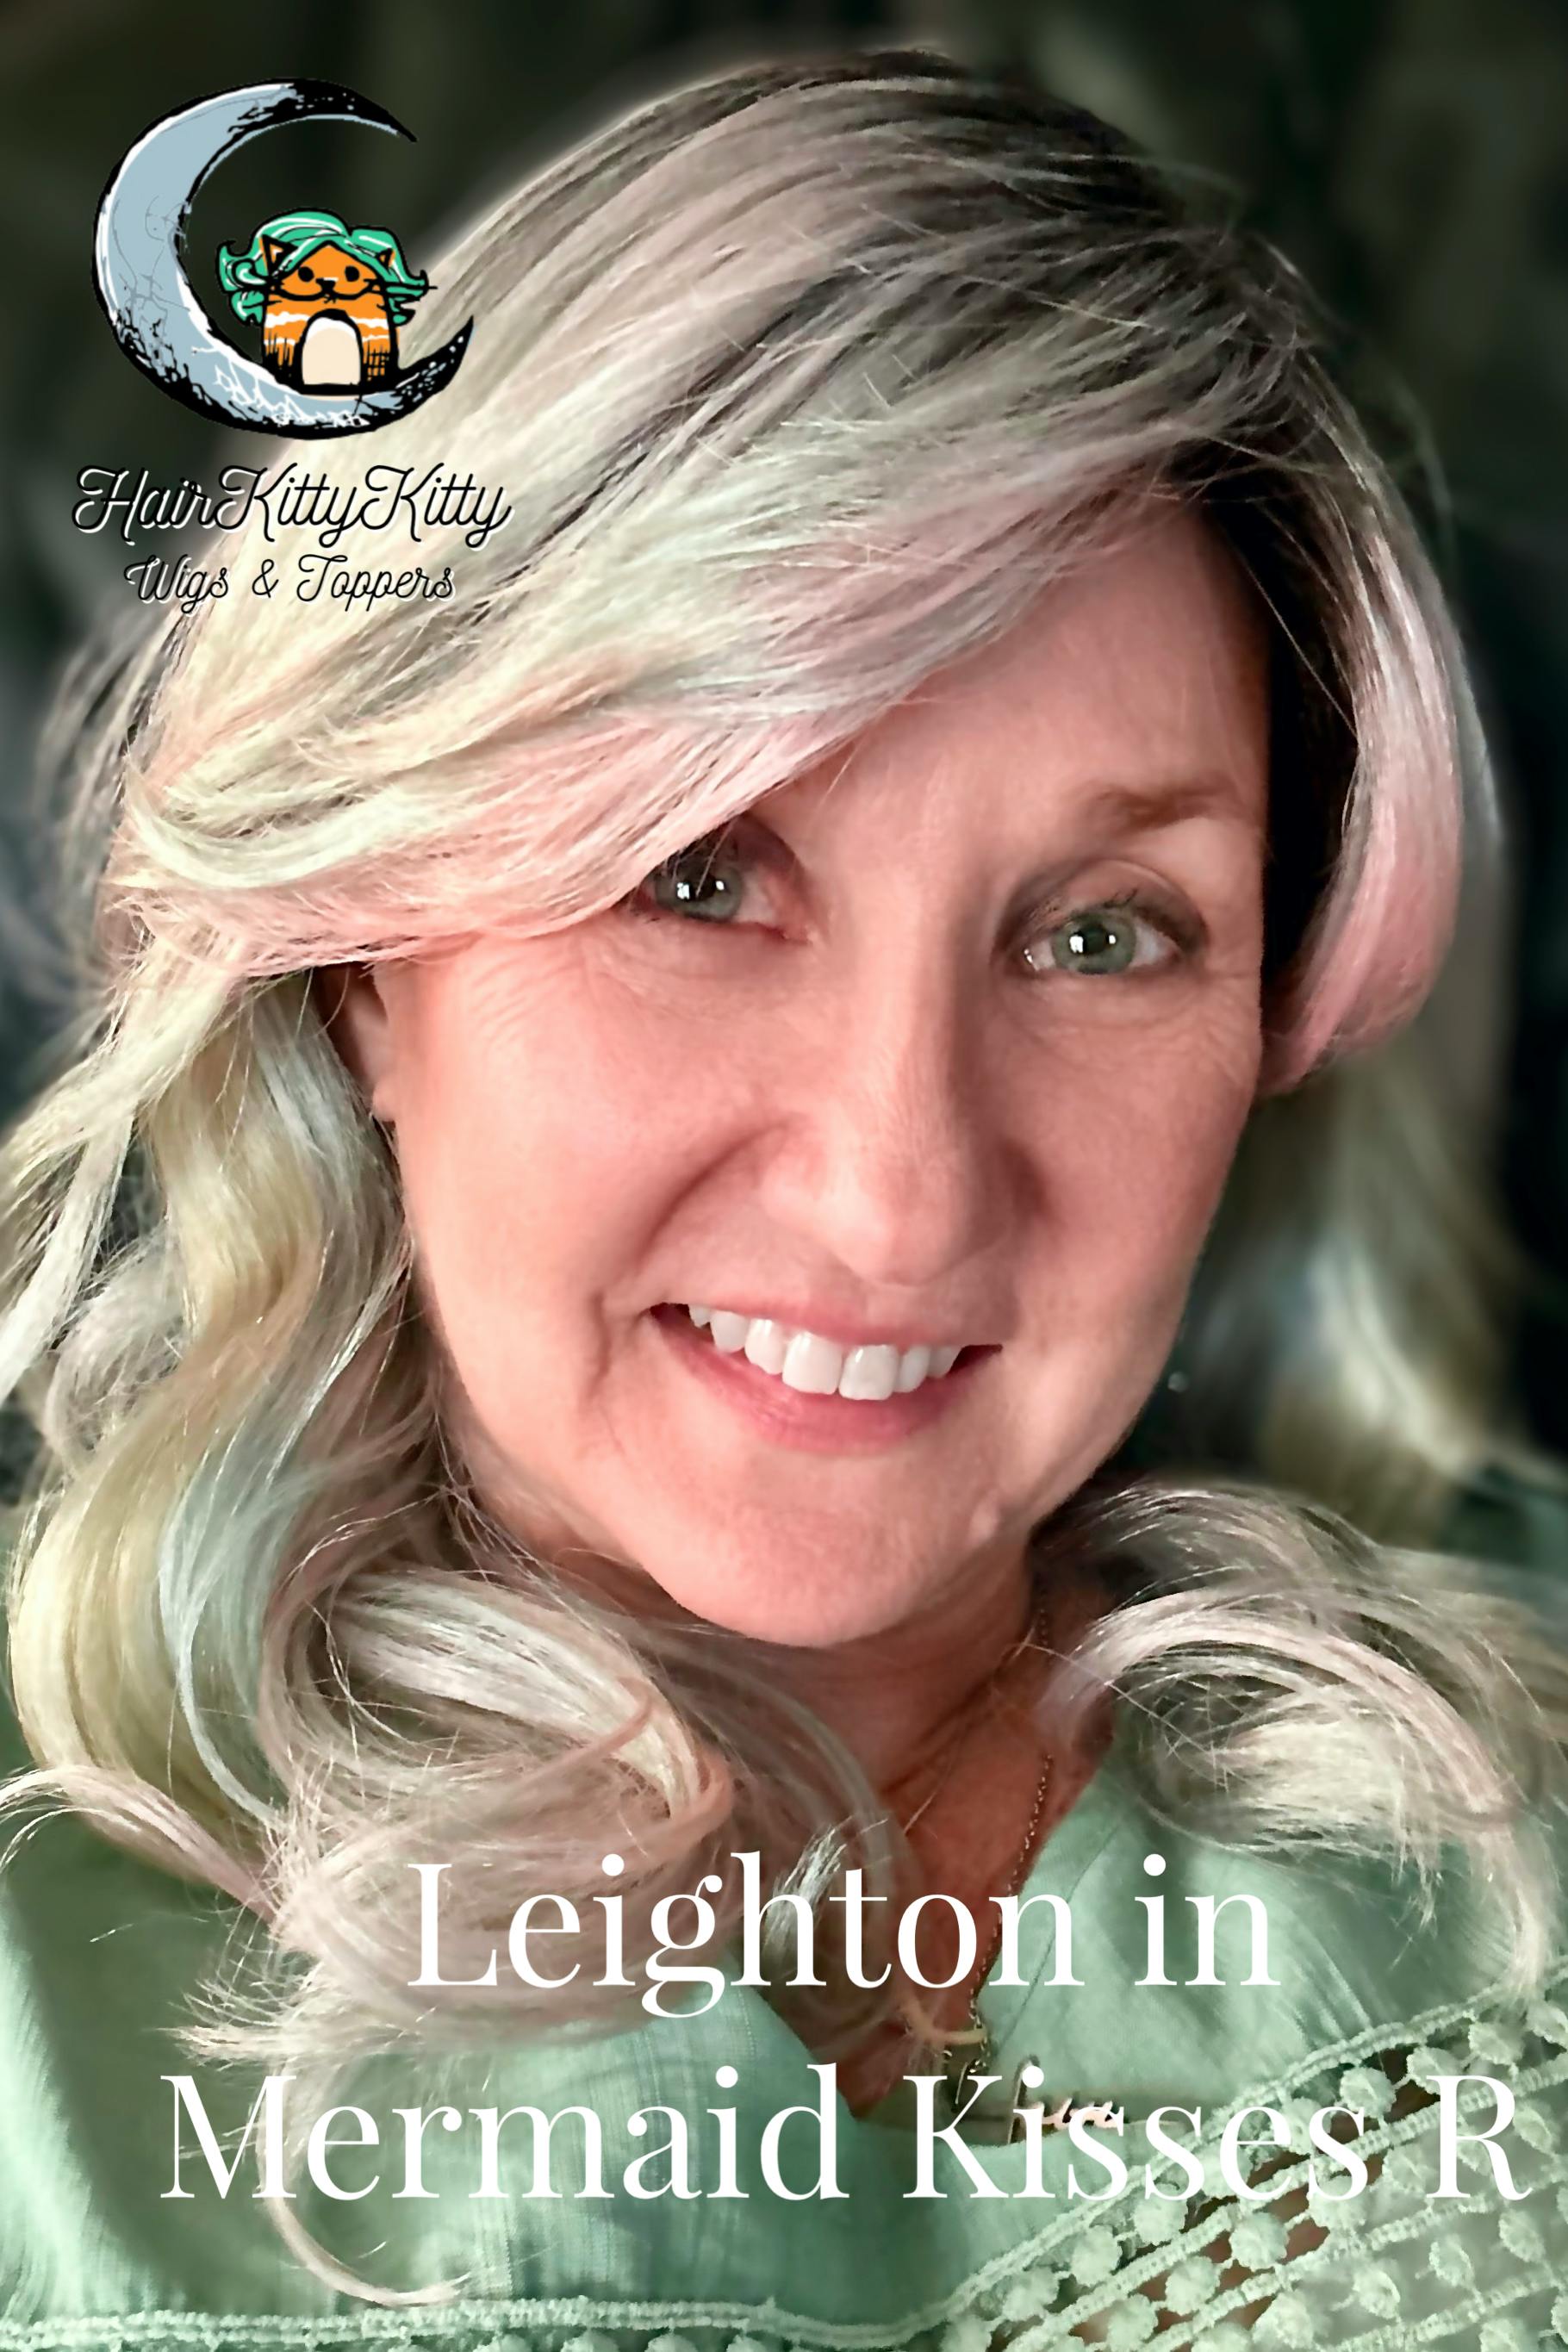
Mermaid Kisses is full of pretty pastel colors of pink, yellow & green and Leighton’s style really shows them off! For me, this one looks best when wearing pastel colors - nothing too neutral or too bold.
I like the light bangs/fringe and long past your shoulders length. The density is perfect for this length, as well. There is some permatease on top, but nothing that creates too much pouf. This one fits my smaller head pretty well. I only need to cinch the adjusters at the nape. Leighton in Mermaid Kisses is a delight to wear!
I'm often uncomfortable in wigs and a topper is a great alternative. The clips in Heather's toppers are many and small, eliminating the pulling you get in most toppers.
This is a gorgeous style, perfect for someone like me who has hair, but not much. I can incorporate what I've got and feel pretty AND comfortable. I'm working on ideas for styling her, but she looks pretty amazing as is.
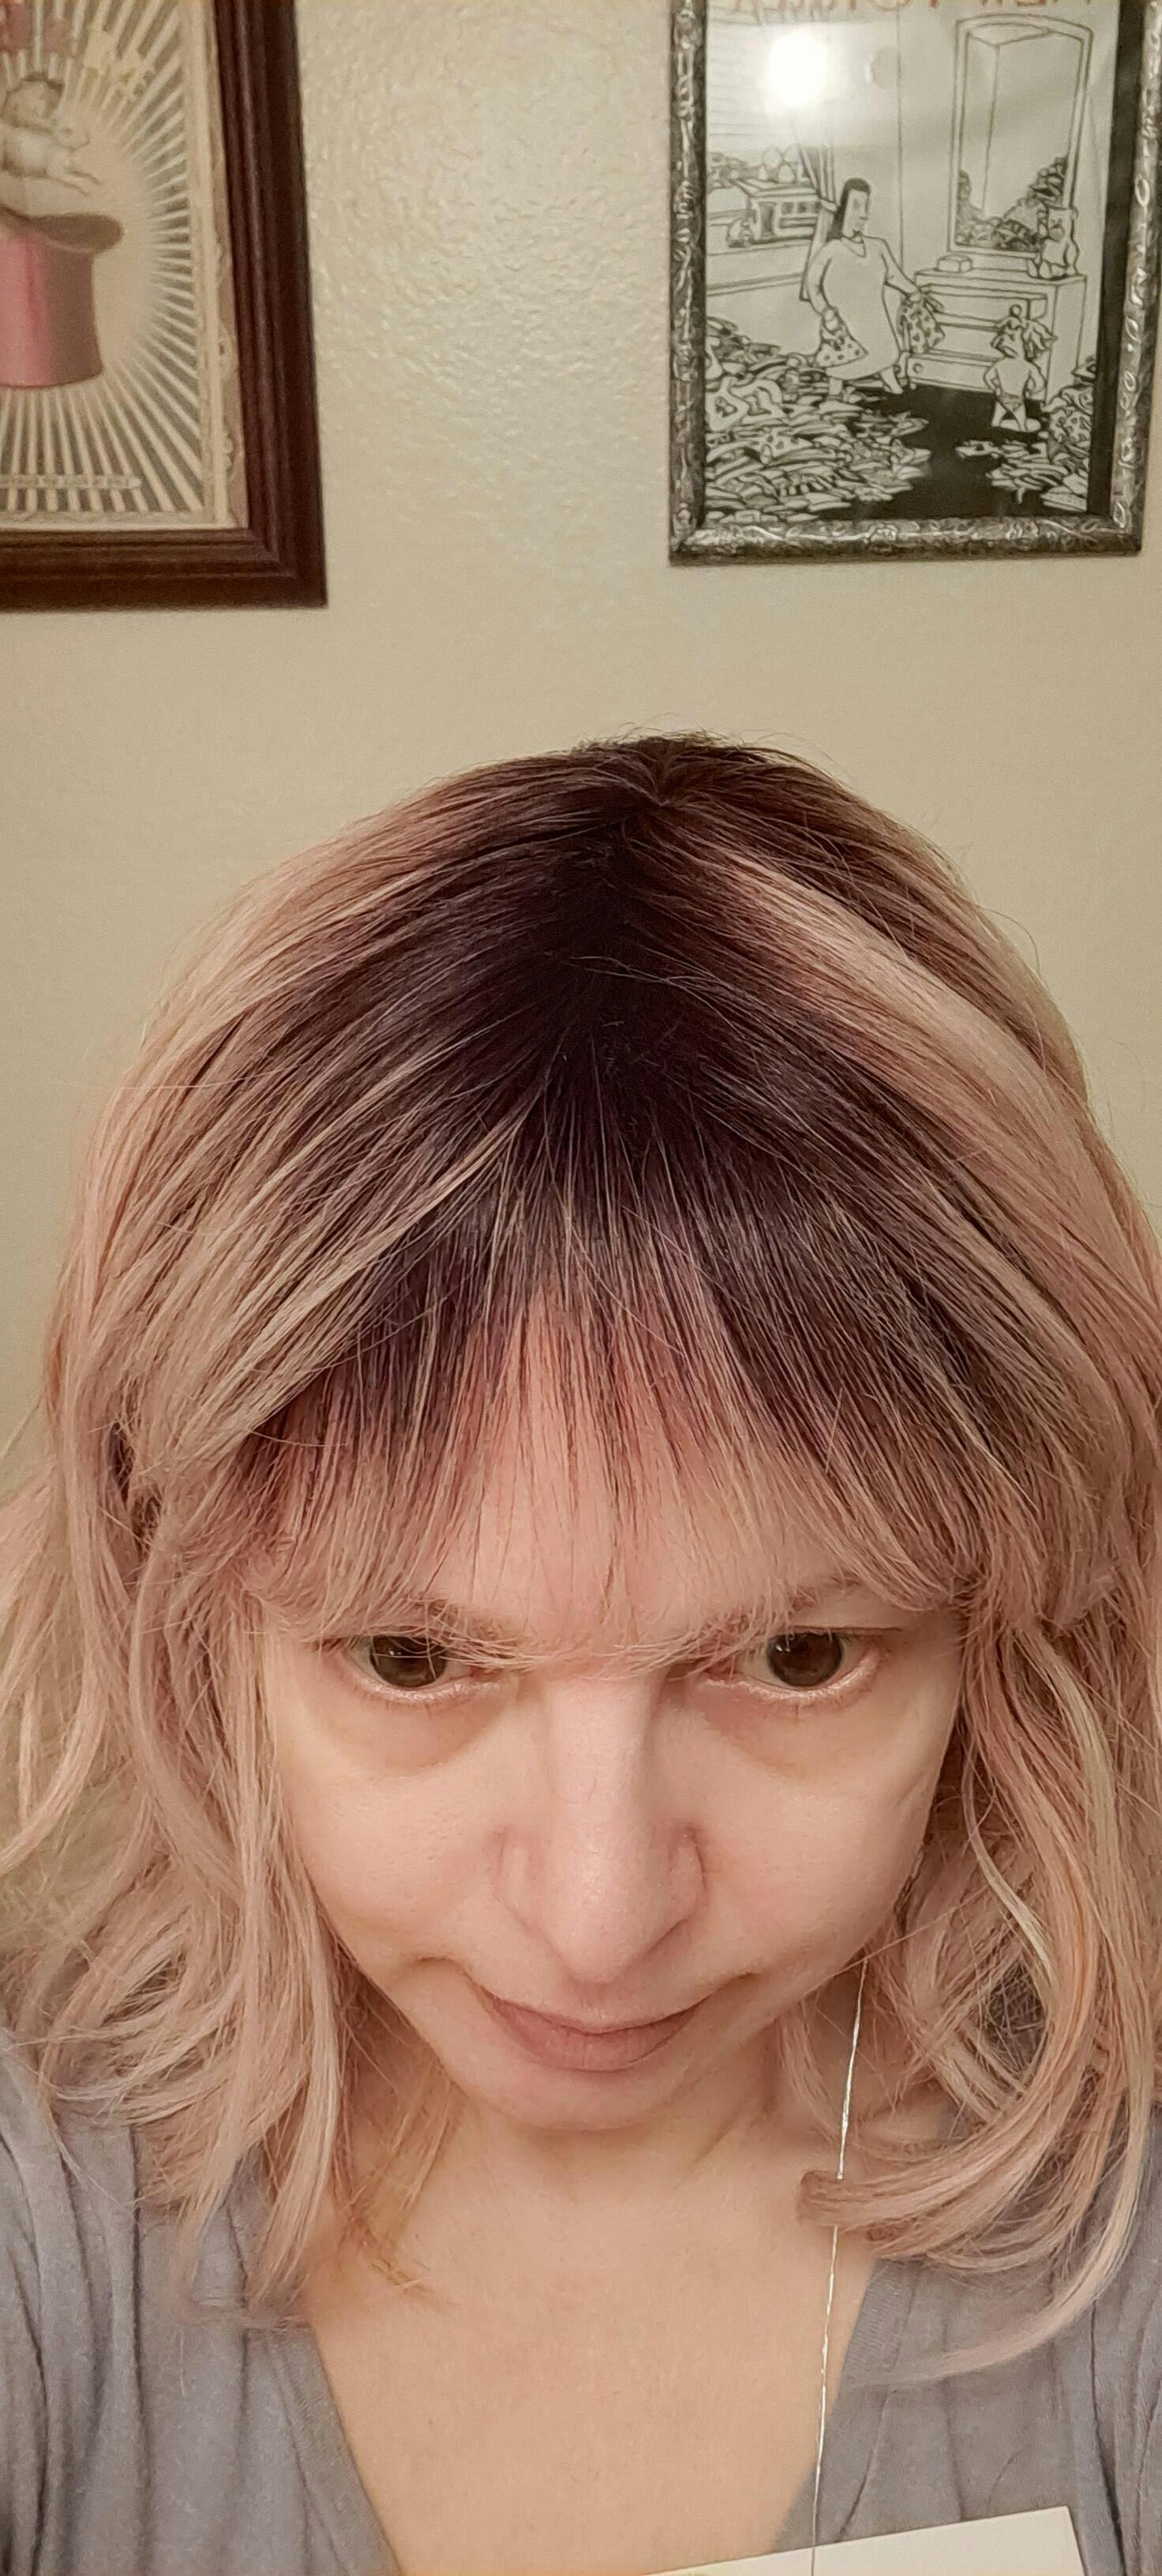
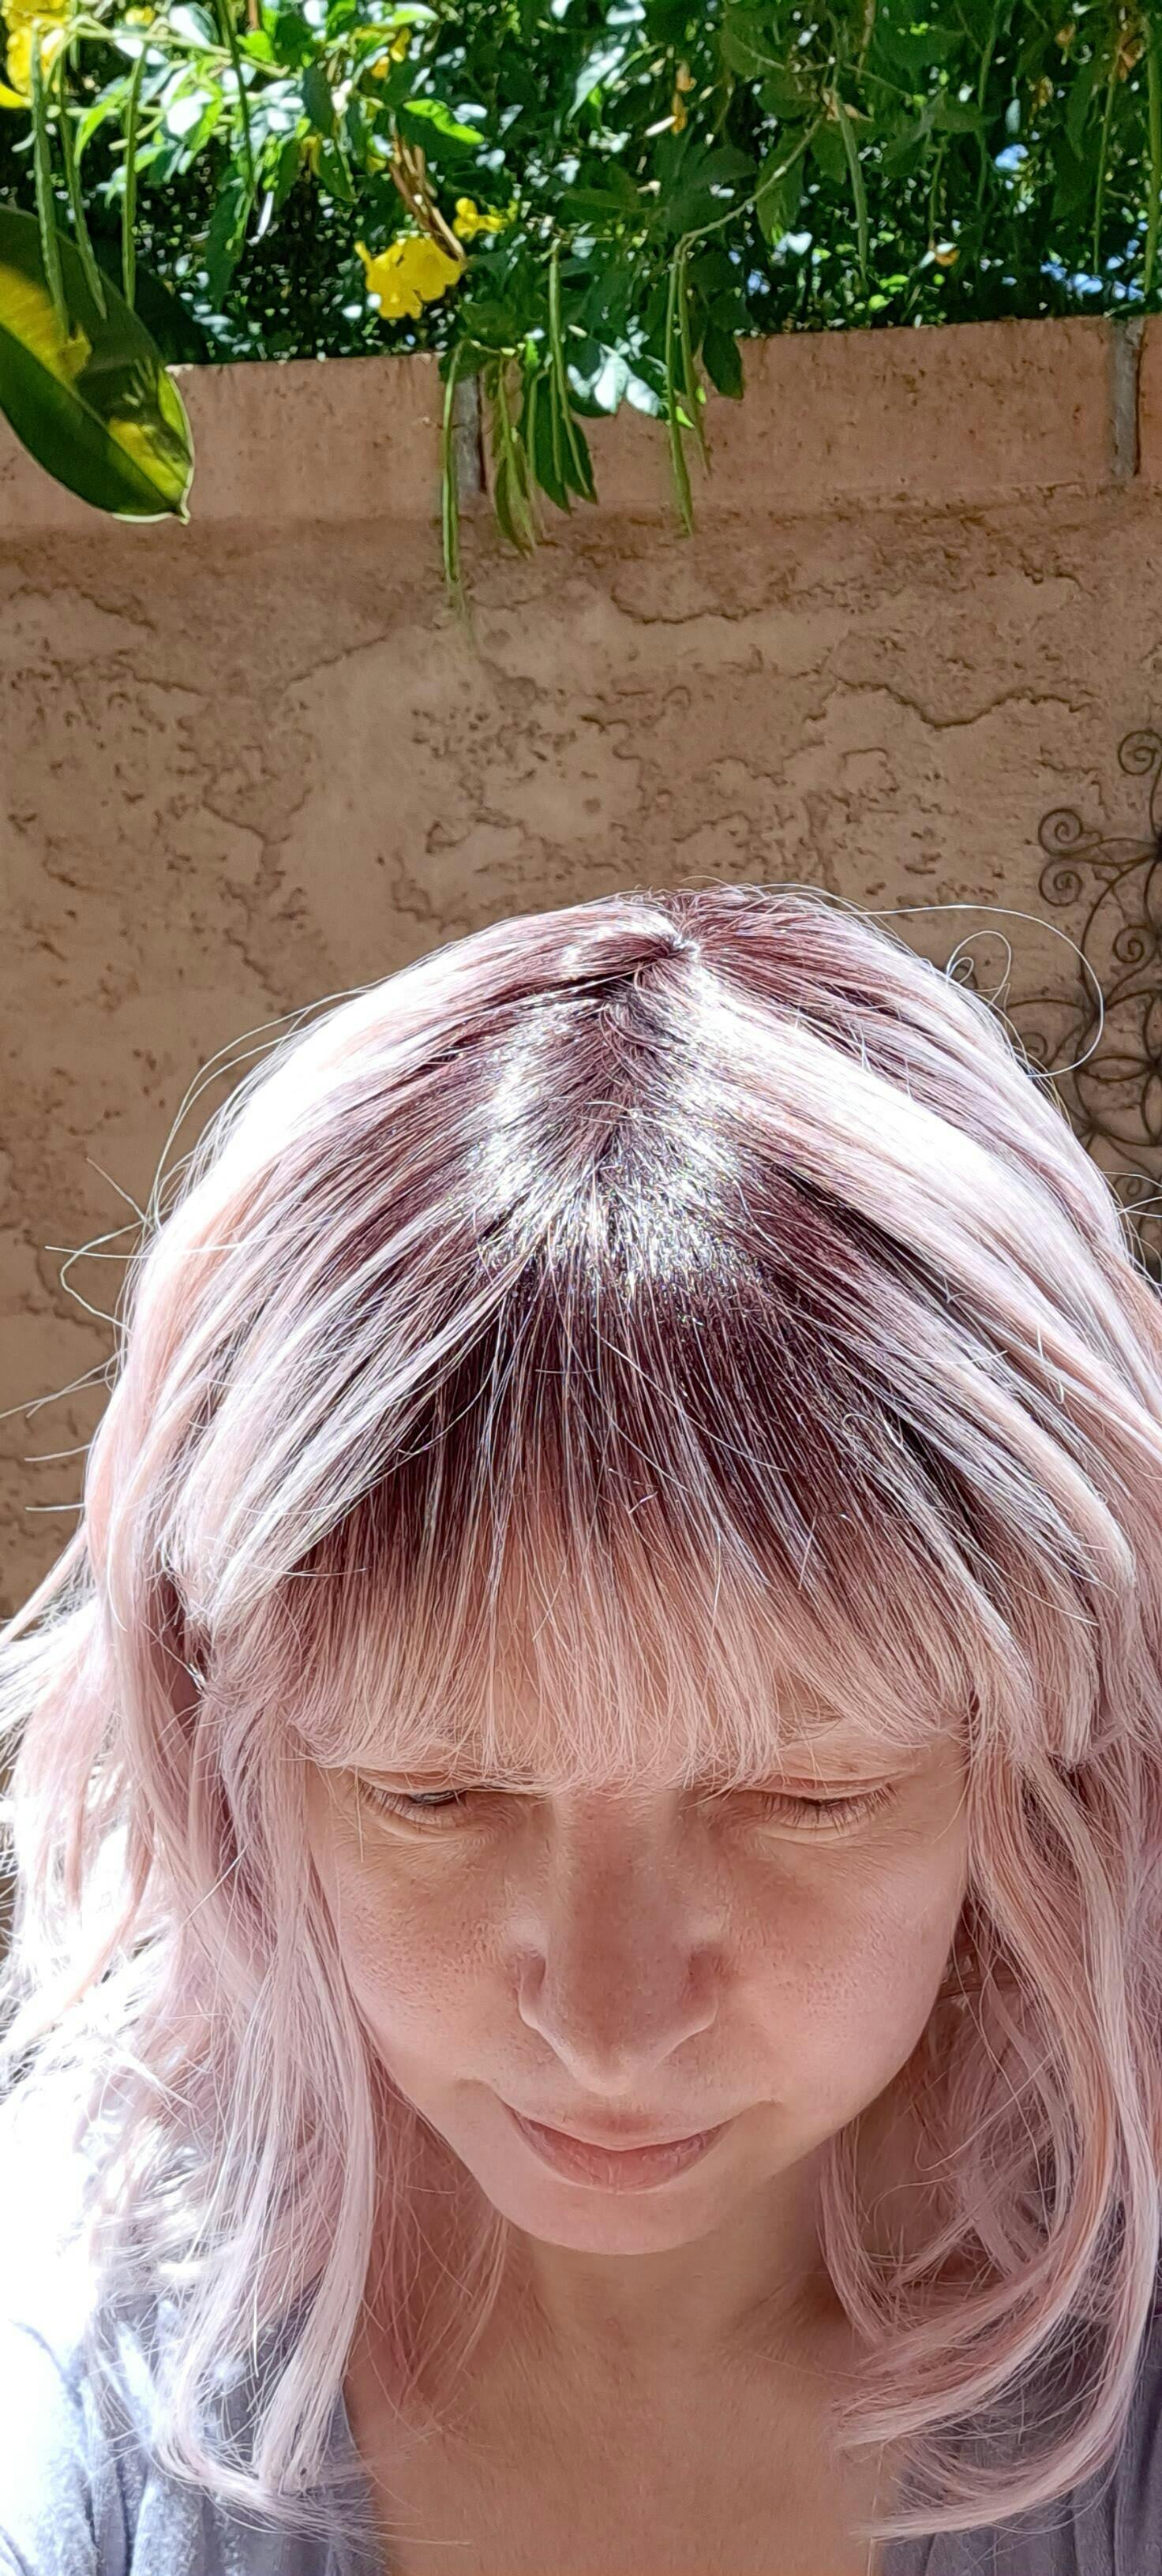
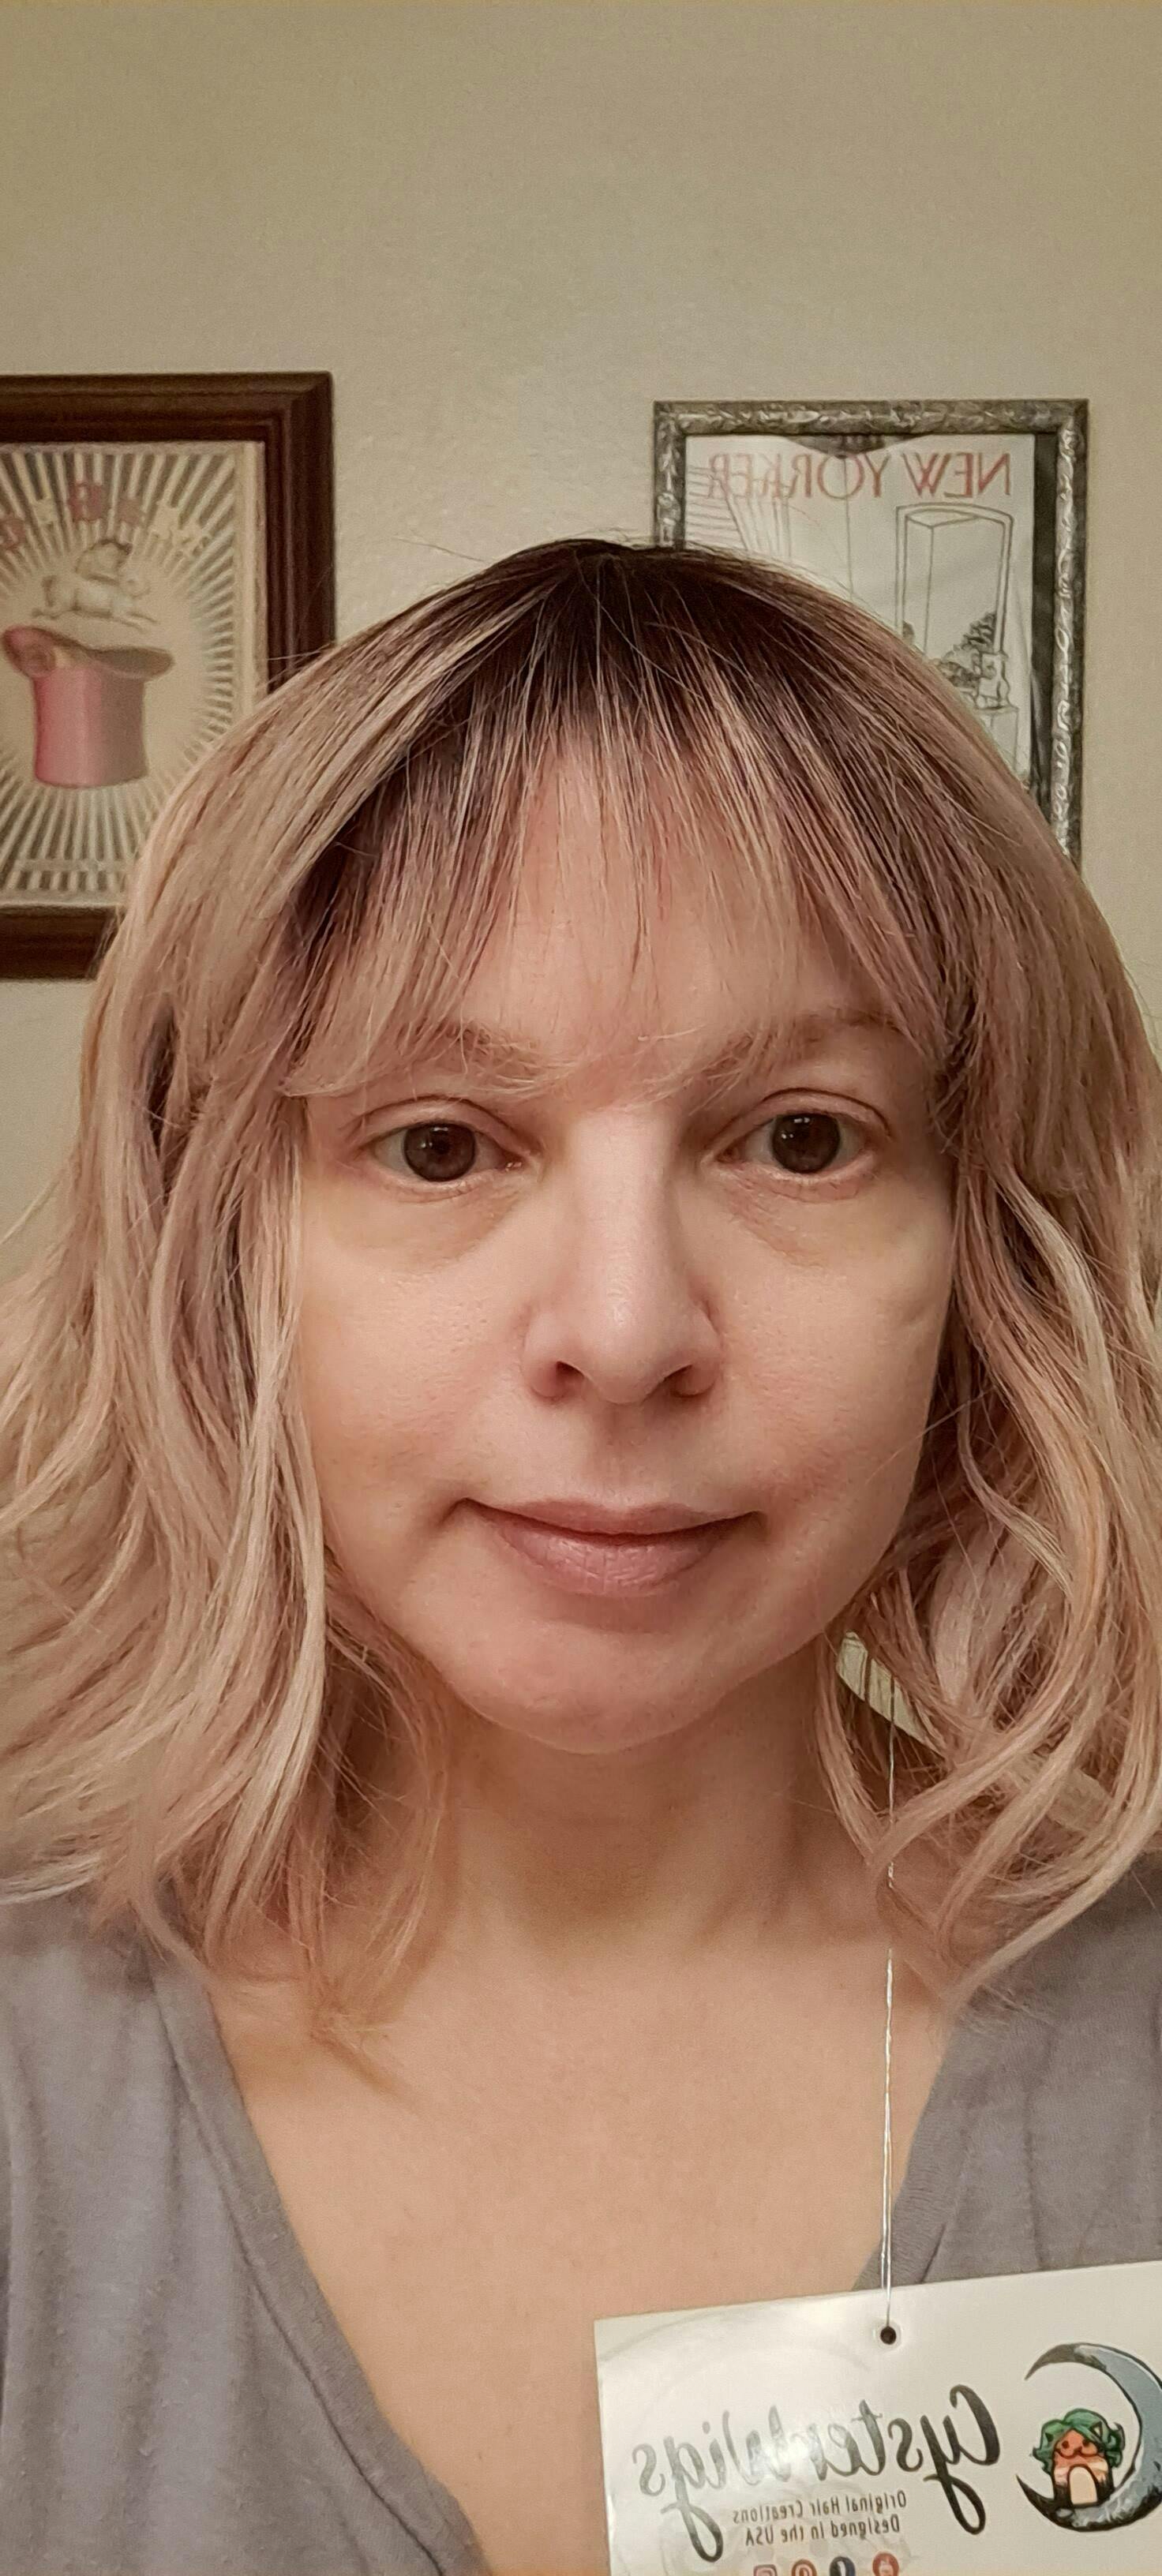
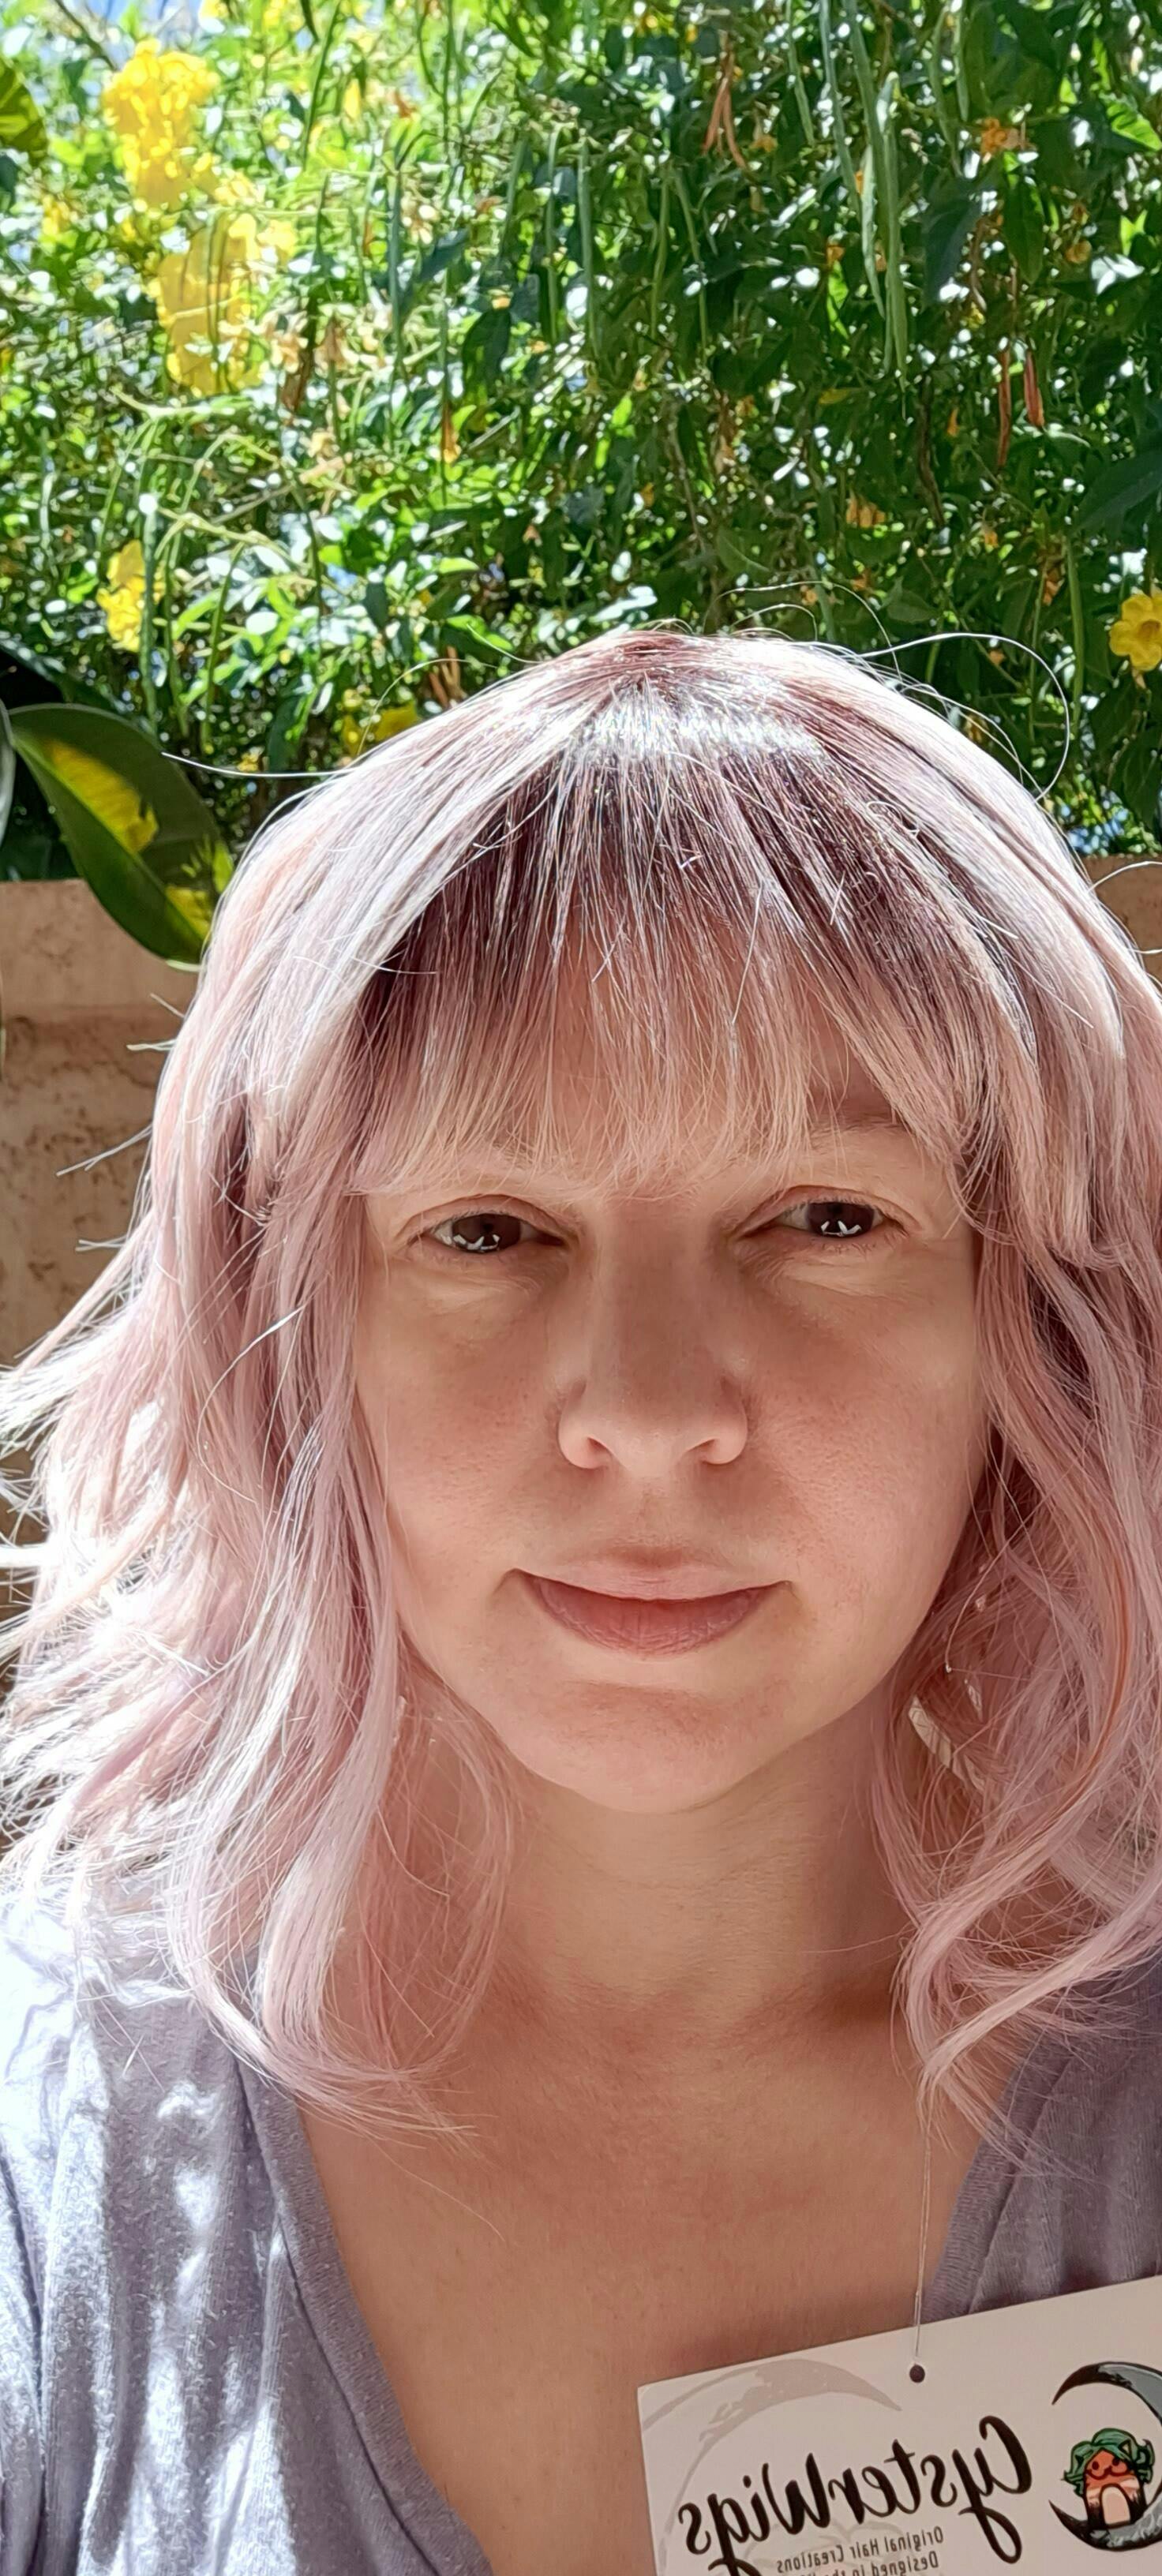
Ambrose is a very wearable style with fine, soft hair fibers. The color Rose Blush is absolutely beautiful, and the rooting adds dimension and realism.
I've attached pictures in indoor and outdoor light with no makeup to show how natural the fibers are and the color.
I love the style and the color of this wig. I wish it was not heat friendly. I just don't get any longevity with HF fibers. I could almost give it a perfect 5 stars, however, the length on each side differs by at least 2 inches. I know it is shorter in the back than the front purposely, but I don't believe it is suposed to be asymmetrical on the sides. I do really enjoy though that it was made to be shorter in the back because heat friendly fibers tend to get so ratty in back due to friction on neck and back.
You definitely can’t go wrong with Leighton in Cocoa Swirl Rooted. If you like a nicely rooted wig, she’s got it! If you like Permatease, she’s got it! If you like a nice longer length, she’s got it! If you like a luscious medium brown color, she’s got it! This wig checks all the boxes. And, it’s available at such an affordable price!